Showing posts with label Thanksgiving Gift sets. Show all posts

Friday, November 18, 2016

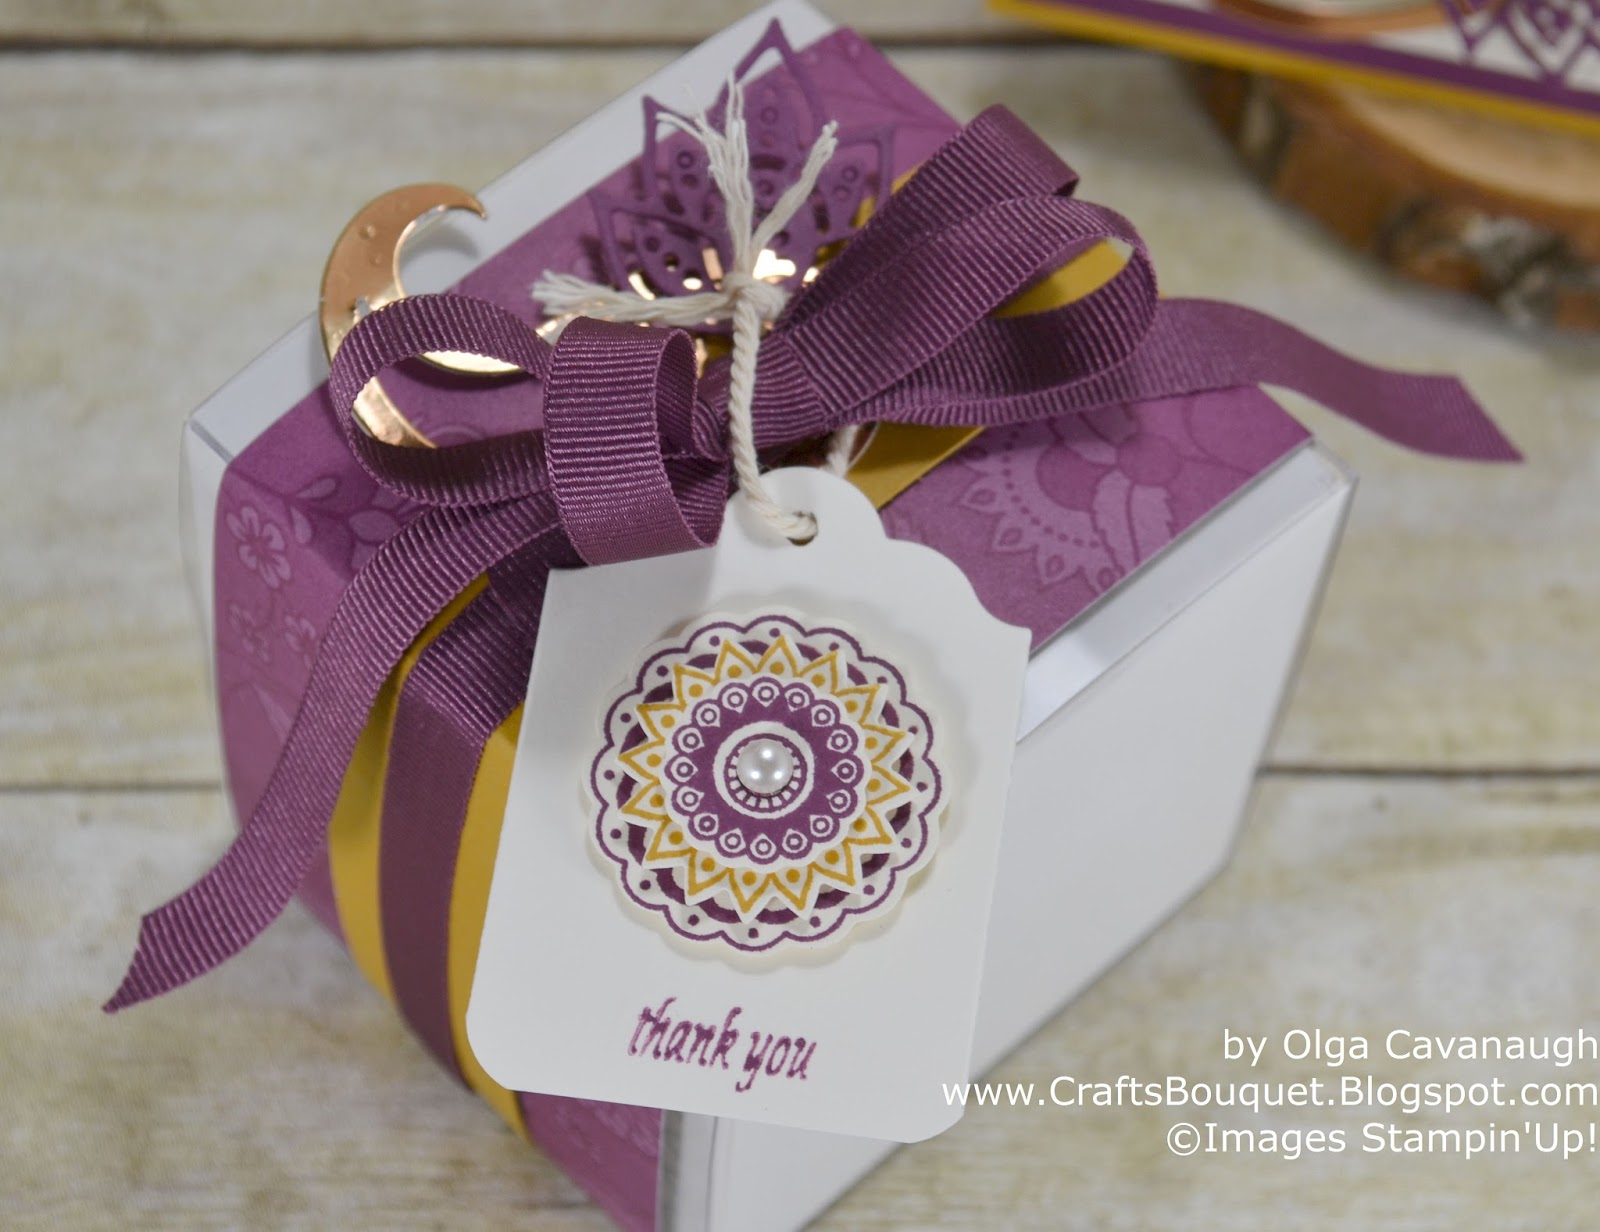
Stampin'Up! Petals & Paisleys Thanksgiving Card and Gift Box

Hello and Welcome!
Today I am sharing a Thanksgiving Card and Gift Box, made with the Stampin'Up! Petals & Paisleys Collection. The Paisleys & Posies stamp set has so many images and sentiments that can go with different project themes as well as the coordinating Petals & Paisleys Specialty Designer Series Paper and other accessories. For this project I used the Rich Razzleberry and Delightful Dijon, I think these colors work together very well, however there are still so many more beautiful color combinations in this collection, you can find them all over the web from other talented demonstrators.


I hope you like this project idea and found some inspiration. All the supplies used for this project are available on my Stampin'Up! online shop or click on any of the images in the supplies table below.

Please don't forget to check the Online Extravaganza! it starts November 21-28. You can see the List of items included on this sale HERE.


Thank you so much for visiting and Have a Wonderful Day!

Friday, November 6, 2015

Stampin'Up Vintage Leaves Thankful Card and Bookmark

Welcome to my Blog!
Today I would like to share with you a Thankful Card and Bookmark made with the Stampin'Up Vintage Leaves stamp set.
This stamp set is a great investment for your stamp collection, there are so many ways you can use these stamp images, and they always look so attractive on any project.
I wanted to create a very simple way to showcase some of the leaves, and I really love the contrasting colors used here.

The card is 5-1/2 X 4-1/4 and you will need the following:
- For the card base cut a piece of Elegant Eggplant card stock 8-1/2 X 5-1/2 and score at 4-1/4 and fold.
-Cut a piece of Elegant Eggplant card stock 4-1/8 X 5-3/8 for a second layer and emboss this piece, I used the Elegant Dots embossing folder.
-Cut a piece of Cajun Craze card stock 4-1/8 X 7/8 and emboss this piece, I used the woodgrain embossing folder.
For the leaves:
I stamp a couple of images on Daffodil Delight card stock using Early Espresso ink color and then I sponged them with several ink colors as follows:
-Always Artichoke in center
-Crush Curry on the rest of the leaf
-Cajun Craze all around the edges
Cut the leaves using the coordinating Leaflets Framelits.
I scrunched these leaves to give them texture.
-Cut a couple of other leaves using Gold Glimmer paper.
I added a linen thread bow to gather all leaves and attach to center of card.
Accent the card by adding some gold sequins or other embellishments.
The "Thankful" sentiment is from the Acorny Thank you stamp set.

Bookmark Front
Bookmark Back
For the Bookmark you need the following:
-Cut a piece of Elegant Eggplant card stock 5 X 2-1/2 and punch the top corners using the Curvy Corner Trio Punch.
-Cut a piece of Very Vanilla card stock 5 X 2 and punch the top with the Ornate Tag Topper Punch.
I stamped several leaves on the very vanilla piece by sponging directly on the stamps with Always artichoke in center, then Crush curry and Cajuy Craze on the edges of stamp (see picture below).
For the Back of Bookmark I stamped several images and embossed them with Gold embossing powder.


I hope you liked this project, it is very easy to make and I really love the way it turned out. This will make great gifts for your book club friends or Church friends, and school teachers.
If you would like to purchase any of the supplies used for this project click on the items in the moving carousel or please visit my Stampin'Up Website HERE.
Please let me know if you have any questions or write me a Comment below :)
Thank you so much for visiting and Have a Wonderful Day!
Built for Free Using: My Stampin Blog

Wednesday, November 4, 2015

Stampin'Up Thankful Forest Friends Note Card gift set

Hello and Welcome to my Blog!
Today I am sharing a set of 4 Note Cards and a Gift Box for storing them. This gift set was made with the Stampin'Up Thankful Forest Friends stamp set and Gift Bag Punch Board.

This set of notecards is so easy to make! and my inspiration was my 10 year old daughter, she loves animals and this stamp set has 3 animal images that go very well with the Thanksgiving season, along with sentiments and folliages to use as accessories in many combinations.

For the Note Cards you will need the following:

-I first stamped the sentiment in a coordinating ink color at the very bottom right corner of the cards using all the sentiments to have a variety.
-Cut a piece of Into the Woods designer series paper 3-1/2 X 3-3/4 for each card, try to chose the patterns that have no more than one color and use a spritzer bottle filled with alcohol and coordinating ink and spritz it randomly just enough to give it more dimension. Do the same with the envelope flap piece of same designer series paper. This piece is cut at 2 x 5 inches, then trimmed to cover just the envelope flap.
-I used the 2 of the largest scallop top tags from the Tags and Labels framelits dies. Cut the largest tag using the solid color of coordinating card stock. Cut the smaller tag using whisper white card stock. Stamp animal images on white tags and attach to solid color tag.  I embellished them with Gold Basic Metal buttons and Gold cording trim, these tags are attached to card with dimensionals. 
-Cut a piece of Gold glimmer paper 3-1/2" X 3/8". Attach this piece at bottom of designer paper on card.
And you are Done with the cards!


For the Gift Box I used The Gift Bag Punch Board and made a box as follows:

Cut a piece of Thick Whisper White Card stock 10 X 6-1/2
On the 10" side place this piece to the right edge of the Gift Bag Punch Board and score where it says "SIDE", move that score line over to "MEDIUM" and score again where it says "SIDE". Flip over this card stock piece and do the same. Don't forget to score all along the horizontal line on top.
Then to make the flaps of the bottom of box, bring the first score line to where it says "START" and punch all the score lines. Then trim 1/4 " from the flaps and assemble and embellish it as you wish. 

For the top flap of the Box I used the Gift Card Envelope & Trims thinlits (item 135854).  I cut the gift card envelope piece and trimmed the 2 small flaps and 1 of the large flaps leaving a piece as you see on picture above.  I trimmed this piece 1/8" more from each side to fit the top opening of my box. Place this piece on the Gift Bag Punch Board aligning the score line or fold at the "M" mark and then you score where it says "SIDE".  Fold these score lines to form the Flap of your box and attach to box. I also embossed this piece to give it texture. Attach a magnet at center inside of flap and also I attached another magnet inside the box base.


 I hope you liked this project, and get inspiration to create your own Note Card gift sets. If you would like to purchase any of the supplies used on this project please click on any of the items in the moving carousel below or visit my Stampin'Up website HERE.
Please let me know if you have any questions or write me a Comment below.
Thank you so much and Have a Wonderful Day!

Built for Free Using: My Stampin Blog

Sunday, October 18, 2015

Stampin'Up Lighthearted Leaves Card Set and Baker's Box

Welcome to my Blog!
Today I would like to share with you this Thanksgiving Card set made with the Stampin'Up Lighthearted Leaves Stamp set and the Baker's Box thinlits, using the 2014-2016 In Color Collection card stock and Ink pad kit.


 This set is so easy to make, the card size is 4-1/4 X 5-1/2 and for each card you need the following:
-For Card Base cut a piece of 4-1/4 X 11 and fold in half.
-For second layer cut a piece of same color card stock at 4-1/8 X 5-3/8 and emboss this piece with the Boho Chic embossing folder.
-Cut one piece with the largest dies from the Lots of Labels framelits in the same color of card base and stamped it with gold ink using one of the Gorgeous Grunge stamp images.
-Cut one piece with the second largest from the Lots of Labels framelits in Very Vanilla card stock and stamp a couple of leave images one with the same ink color and the other one using Sahara Sand ink color to contrast, then splatter this piece with a mix of All purpose glue and water using the aqua painter then sprinkle it with gold stampin glitter. The glitter splatter technique was demonstrated at a Stampin'Up convention and you can find many videos on YouTube that show this technique.
-Emboss the images with gold embossing powder on the same color card stock, I sponged the edges with same ink colors for more dimension. Then cut them with the coordinating Leaflets Framelits dies. I attached these leaves to center of card using dimensionals.
Embellish these leaves with coordinating ribbon and a gold accent, I used the Gold Basic Metal Buttons.


I am pairing these cards with the Baker's Box filled with Rasberry Jam butter cookies, to give away as Thanksgiving gifts for teachers, family and friends.

For the tag I used the following:
Stamp the Autum sentiment from the Among the Branches stamp set using same ink color as the card. I used the 2" circle punch for this image.
Cut another circle with Gold Foil paper using the 2-1/2" circle punch for background of your tag.
Stamp 2 leave images from the lighthearted leaves stamp set one in same color ink of card and another leave with sahara sand ink color and do the splatter technique with glue and water mixture and sprinkle with gold glitter.
Add ribbon to embellish your tag as you see on picture above.

I hope you like these Thanksgiving card and box gift sets, and I hope the recipients like them too!
If you would like to shop for any of the Stampin'Up supplies used for this project please click the items on the moving carousel or visit my Stampin'Up Website Here.
Please let me know if you have any questions or write me a comment below.
Thank you so much for visiting and Have a Wonderful Day!

Built for Free Using: My Stampin Blog